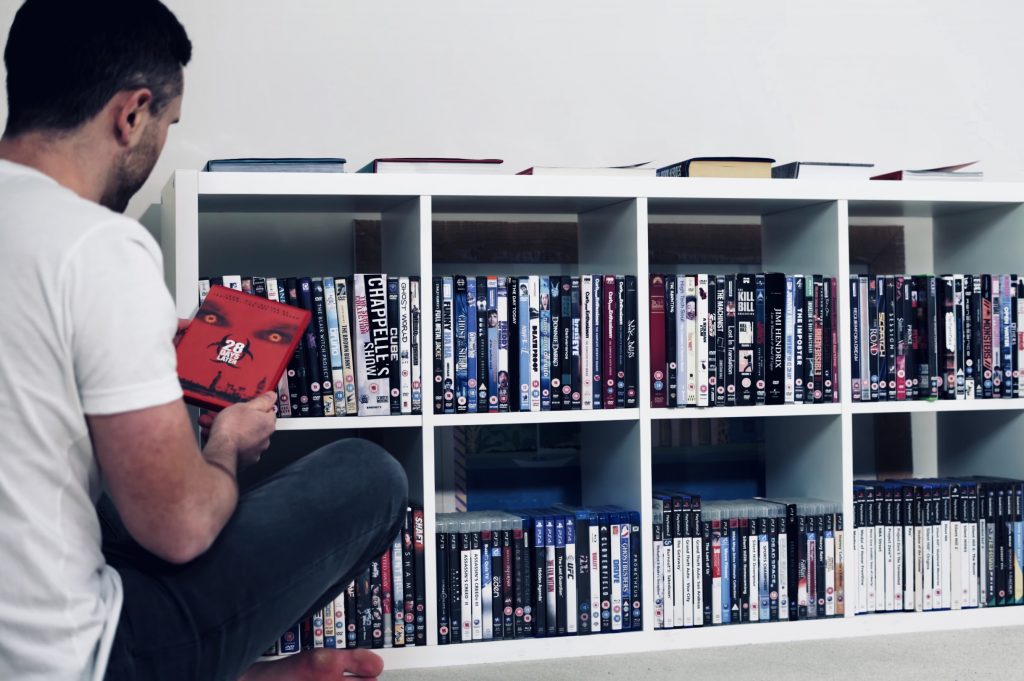
My apartment can turn into a lunatic’s lair when I’m deep in a project and it drives me insane. I wouldn’t say I’m OCD but I find I’m a lot happier when everything is in order. I have a number of libraries including a collection of retro and modern games, DVDs, Blu-rays, a record collection of over 1,000 vinyls plus my iTunes and so keeping stuff neat and in-line is something I’m ok doing. It also means I won’t be losing or tripping over things in future.
The same applies to how you manage your video projects. If your files are all over the shop you’re going to cause yourself all manner of hassle further down the road when you can’t find an old piece of footage, a project has missing files or your computer is grinding under the load of who knows what. So as boring as it is, let me help you by offering you these pointers on how to keep your projects in line and your computer running at its best during a project.
1. Clean, clear and get ready to roll
If you can keep to grips with your project files, it will make your life so much easier later on. Whatever computer it is that you’re using to edit, you should not use it as a storage cupboard for all your digital junk. Think of your computer purely as a workstation, similar to a kitchen worktop in a restaurant. Before service, you clear down. Empty your bins, get all the junk off of there, free up the maximum amount of memory and everything will run a lot better/faster. When setting up a new project keep everything together in one contained folder. Final Cut uses the library>event>project system which I think works great, but whichever way you do your do, keep all your files in one place, avoid unnecessary duplication and host the files on your internal hard drive rather than an external drive if you have the room as again everything will run a lot faster. The same applies when you’re finished. Delete your generated library files, consolidate your project all into one folder, move it off onto a storage drive and clear down. Literally, the last stage of any project for me is when I ‘clear deck’.
2. Imports
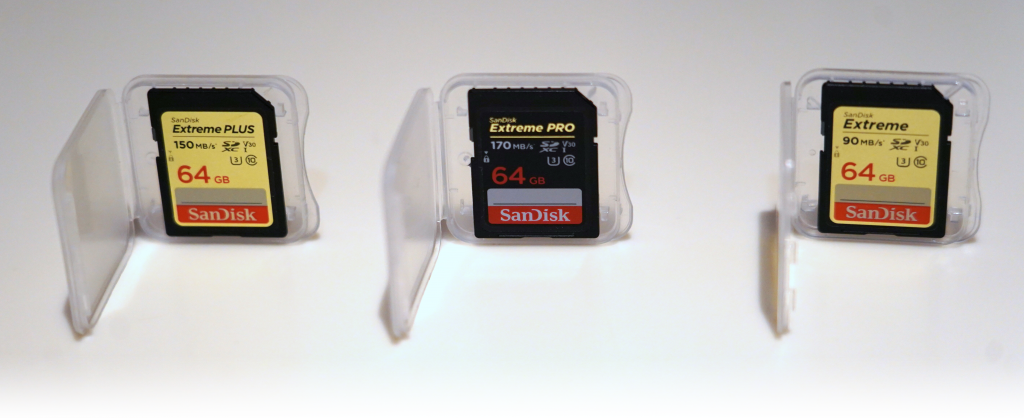
This is kind of where the editing begins. When importing footage try not to just blindly dump everything from an SD card onto your computer. Quite often when filming there can be a large amount of footage that you will never use so there is no point importing it as all it’s going to do is eat up storage and slow things down with file management. Have a quick glance and ensure you’re not importing stuff you will not use. However, I’m not saying that you should start hard editing at this point and import only the footage you will use as you might change your mind later or need a little extra handle footage, so don’t be too tight.
Be sure to enable proxy rendering. This creates low-quality copies of your video files that you use during editing which works fine and uses way less processing power. At any point, you can switch back to full quality and it will switch to full quality on export but it’s a real helper in terms of CPU grind.
3. Backup
Never delete the original files from your SD cards until the finished project has been delivered. If something gets accidentally deleted or corrupted, you’ll have that one final backup. Also, I have an HDD drive dedicated to cloning whatever project. That drive never goes anywhere and it isn’t used for anything else. It exists purely in case my computer gets stolen or the drive I’m working on gets corrupted or lost. This way there is at least a copy safe and sound. You never ever want to be in a position where you have lost footage that you need and there’s no way to get it back. Once you’re done with a project and archived, this drive is wiped ready to act as a clone for the next project.
Speaking of drives – you will always get the best performance working off of your internal SSD drive. This is why it is so important to ‘clear deck’ before/after every project so that you have enough space on there to work from. On the occasions where your internal drive isn’t big enough your next option should be an external SSD. They are more expensive but pretty much the same speed as your internal dive and are virtually indestructible. They are more expensive than HDDs but worth it for the performance. Your final option is an HDD but these things can break easily. Do not make the mistake of carrying these around without as repeated bumps and jolts can eventually damage the spinning disc mechanism rendering them as dead as a doorstop. These are generally for storage only and then to be left. When using a Mac format your drives to APFS for best performance and never ExFAT as that can cause issues. If you are using a load of external drives, save yourself from having to waste time plugging them in to see what’s on them by putting a sticker on the back that you can write the contents on in pen.
4. Tagging
Once you’ve imported your footage you will lose so much time if you’re scrolling through a big list of files whilst editing to see what’s what. So tag your footage and then you can just flip through your tag folders. This is a major precursor to the editing process as at this point you decide with your tags how you are going to group your video files and where they are intended to go in the final project. For example you could tag footage as “opening” for the opening section of your film project and then you know what clips you have to work with in that section. Likewise, you can tag different shot types like “wide”, “close-up” etc… so you can immediately pull up the shot you’re looking for.
You should avoid, however, spending hours tagging only to then come back and review the same footage later. If you see some solid gold/must-use footage as you’re tagging then insert it onto your main timeline and even start to build rough sequences. There are occasions when I have finished a project before tagging everything so always just let the creativity flow, but for bigger projects tagging is essential. Don’t worry about any fine-tuning at this stage but it’s a good way to start putting paint to canvas.
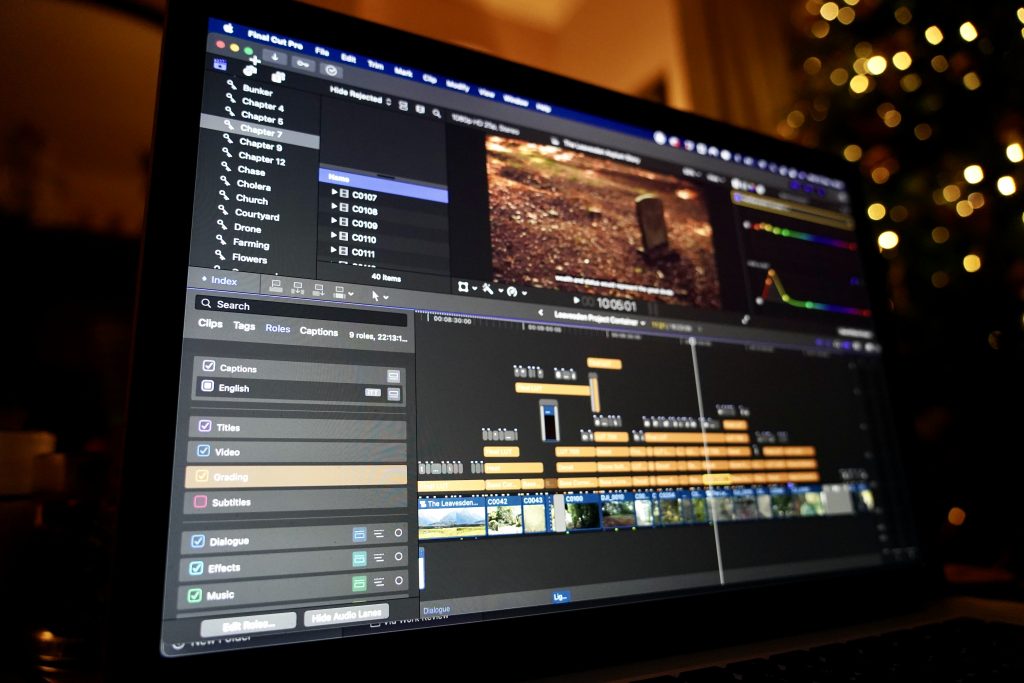
5. Assigning Roles
I’ve started doing this relatively recently and it really helps visually navigate a project and the speed by which you can control it. Assigning roles to different elements (e.g. video, effects, music, dialogue etc..) makes it so much faster to see what’s what and to turn things on and off without having to do everything one at a time. In Final Cut and I’m sure any other system, this then enables you to use the index feature to automatically find/select clips that match certain criteria. So If say you wanted to change the saturation on 10 adjustments at once you can do it this way etc.
6. Post delivery management
Once a project is signed, sealed, delivered, approved and paid for you’ll want to deleted out all library files (e.g render files, backups, proxy) as this takes up a huge amount of space. Personally, for projects where I know I will never be going back to use leftover clips again, I drag the project file into a new library as this sheds anything unused and again, drastically reduces library file sizes and your need to go buy another drive.
Media management swallows up time and additional storage capacity is an on-going cost, hence why I charge for it. Only if I have a media management agreement in place with a client do I ensure that I will hold their projects and footage on files (of up to 5TB for 5 years), but if people haven’t agreed to pay for your time managing their library archives or for your storage space then you have no obligation to hold onto anything after delivery, so something to bear in mind.

Alright then, to recap – so far we have covered strategy, camera operation, filming and media management. Next we delve into the art of editing.