A big reason why people chose to work with me is not because of my marketing qualifications or fancy equipment, but primarily for my creativity and ability to tell a story. This is something I have been doing in media ever since I got a Fisher Price tape recorder as a kid. You may already have a pre-existing narrative that you are working towards before you start filming, but whether you do or don’t, the way you capture something in a moving image can be hugely important in the storytelling process. As with camera operation, there is a huge amount you can do to influence a narrative in how you use a camera in a 3D space. Here are 5 areas of consideration when trying to get that shot to best tell your story.
1. Ninja Mode
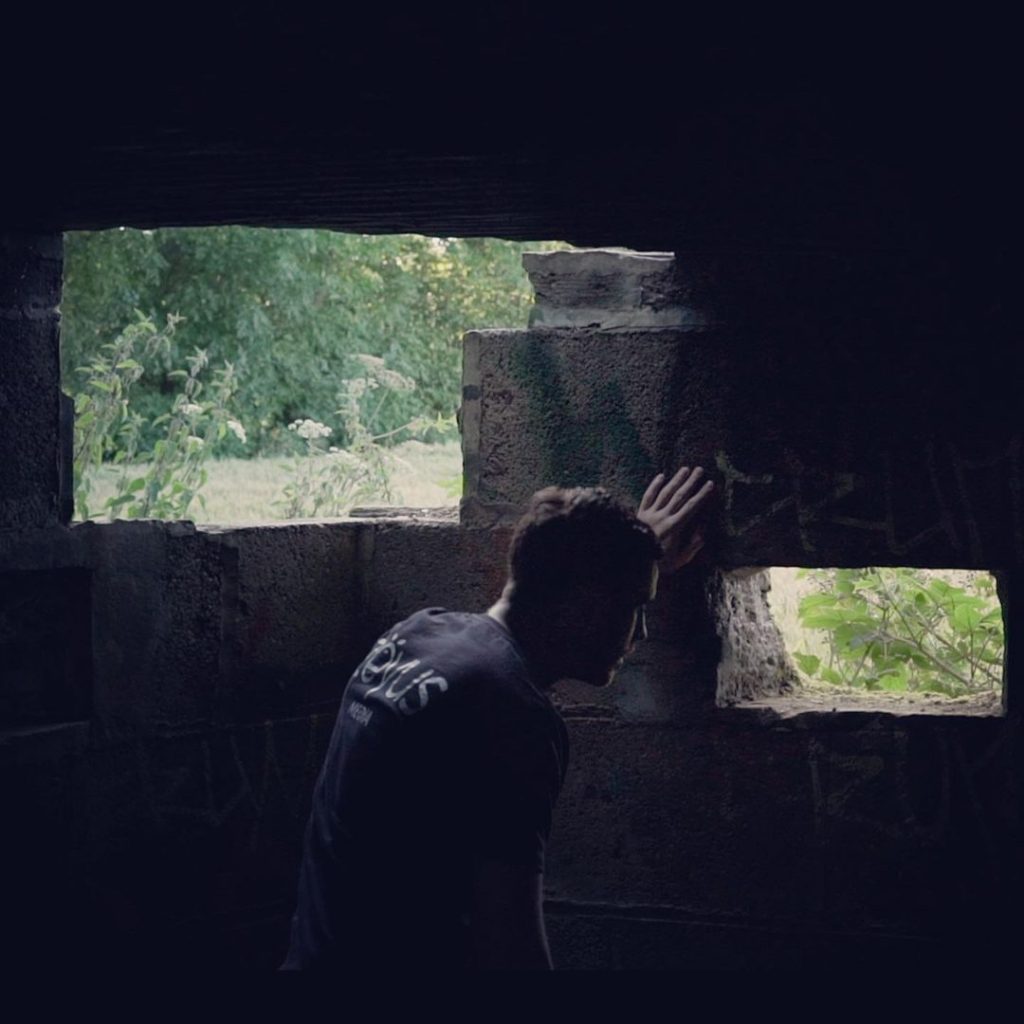
I was once at a fitness expo in Cologne, sat in the audience of an arm wrestling contest (🤷🏻) and I swear to god there were like 4 photographers surrounding the contest to the point that you couldn’t actually see it. It’s the same where you go to a music gig and you spend half the time staring at the back of some photographer dork rather than the artist you paid to see. Needless to say, I can’t stand it when camera operators get in the way or intrude into an event. Not only does their presence distract from the event and affect the energy but also, if you’re shooting multicam, you could be rendering these other shots unusable. So I have a number of tactics to avoid this by going into what I call “ninja mode”.
A ninja stays out of sight so camouflage is an important consideration. What I am wearing will depend on where I am filming but generally, I try to mix in with the crowd or stage crew. If it’s a formal affair I wear a shirt, but always I dress in black to vanish into the shadows. That way, if you are forced into the frame of another camera and you still have a chance of going unnoticed. One thing I always wear regardless of formality is trainers. You don’t want hard footsteps in your audio or heavy walk bounce in your moving shots and trainers help to cushion this. When placing static cameras try to utilise any pillars or peepholes so that they remain as hidden as possible, out of the way of the crowd and out of shot of each other.
As well as going unseen, a ninja leaves no trace. Unless you are deliberately trying to show the movements of the camera operator (e.g POV shots) then you want the camera operator to go unnoticed. Unless you have a top-of-the-range steady cam rig the impact of any heel strikes will transfer to the camera so you need to learn the ninja walk. The ninja walk is a bit like doing a forward moonwalk where you gradually introduce weight through your extended toes and smoothly transfer to taking the weight off the heel. This acts both to reduce the sound of your steps and to take as much walk bounce out of your shots as possible.
So, ya know when passers-by do this sort of polite bow in a feeble attempt to avoid ruining a picture you’re taking? It seems kinda silly and unnecessary for the most part, but when you’re filming footage that you will may later rely on, avoiding obstruction becomes a big deal. Do not underestimate the importance of staying low by doing a duck walk or even a bear crawl to stay out of the field of view of your other cameras. This could save your life as there’s nothing worse than flipping to an angle you want/need only to so yourself stood right in shot like an idiot. Sometimes it can be possible to remove things/people in post using masking and tracking but it’s extra time, extra pain and compromise on overall quality, so stay out of sight.
2. Right place, right time
It might sound as if I’m about to contradict everything I’ve just said. Indeed it is often important to strive to be stealthy but there is one hard override and that is ‘get the shot‘! All of the experience, equipment, skill and effort that has led up to this moment counts for nothing if you don’t get the shot.
Of course, there are the absolute basics of camera operation – making sure your batteries are fully charged, your memory cards have capacity and yes, that you have hit record, but there is also the need to be in the right place at the right time. Communication is vital here and an event/production manager can be worth their weight in gold, but either way, make sure that you always have a clear and regularly updated understanding of when something is meant to be happening and that your camera is all ready to shoot.
A general tactic is to stick close to VIPs as usually, the things of interest happen around them, but constantly be scanning space looking for an opportunity and jump on it as fast as possible. Personally, I never take breaks, stop for lunch or any of that because that could be the minute you miss that magic moment that would have made your video if you would have captured it. It is absolutely exhausting but my advice is to remain constantly live when filming. Plenty of time to sleep when you’re dead.
Directing and stage management comes into play here massively. If someone if the light, hair, pose, position of the subject is unflattering and can be improved then say so and do something. Make the moment perfect. And if you ever have other camera operators in the vicinity do not hesitate to communicate with them in the strongest terms if they start to encroach on your shots.
3. Get an angle
Cinematography is a fine art form. More can be discussed about the significance of a camera angle than I could ever say in a lifetime. For example, it may be very subtle but the height that the camera is set during the elevator of blood scene of Stanley Kubrick’s “The Shining” (1980) was at a deliberately low angle as if to suggest the perspective of a child, i.e the films protagonist Danny, who possesses the ability to see the dark imprints in the Overlook Hotel. Taking it back to basics there are a couple of things to consider that could make the same scene look a lot better.
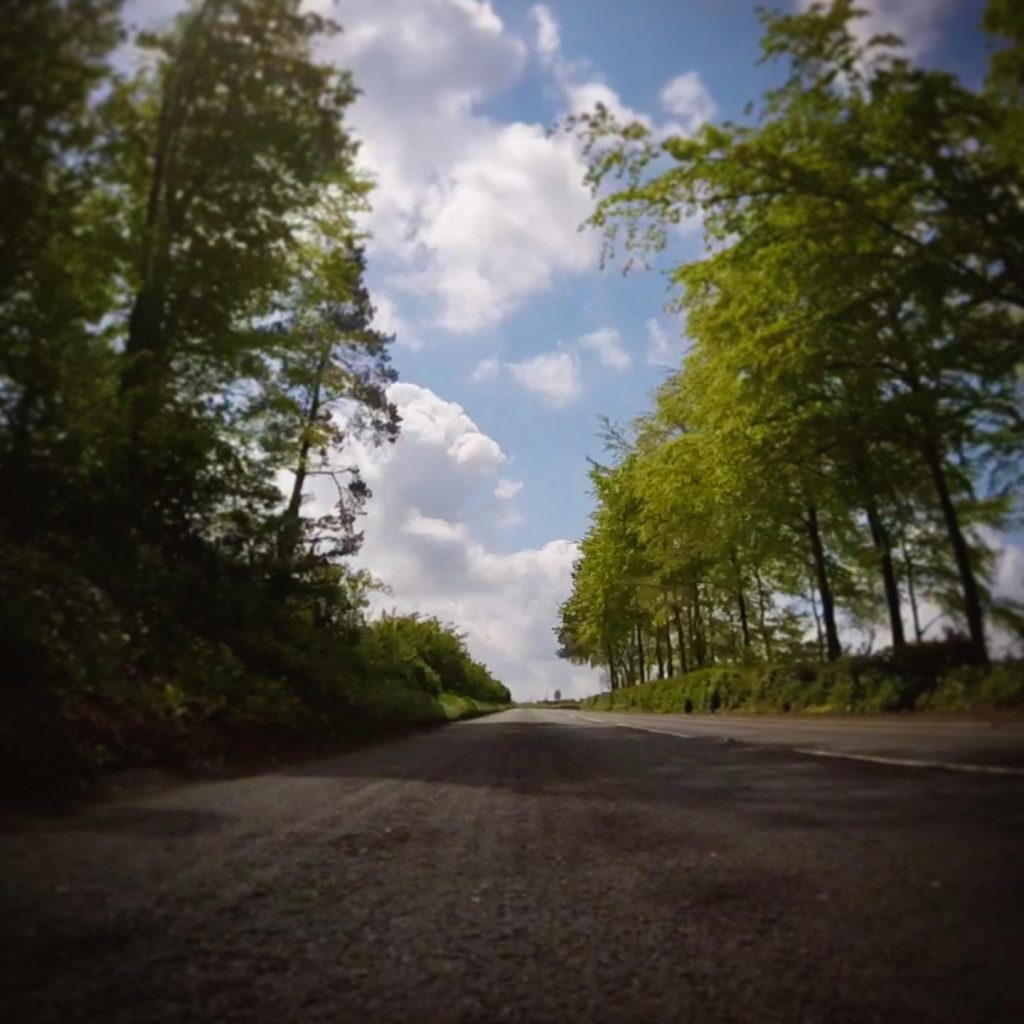
The general principle I apply is that when filming you focus on ‘capture’ and/or ‘communicating’. If you want to communicate “cold” then I want to see frost crystallising or a breath hanging in the air. If you want “hot” I want to see sweat, dry dust or the shimmer of rising heat. A rookie mistake is to film everything from head height as this can often be the most boring angle of all. For example, when filming wide/empty/landscape-type shots a far more interesting angle than head height is either a low angle or an angle close to a foreground feature or texture. Not only does this lead the eye toward the focus of the scene but it provides a better sense of depth, scale and opportunities for more interesting details and textures. In the frame above a camera was strapped to a car bumper to capture better road surface textures, a better sense of depth and thereby a better sense of speed. The flip would be a drone shot using the tree-top canopies to give a sense of depth and speed from the inverse angle.
When shooting people it is most complementary to shoot with zero tilt as then you are capturing that person in correct proportion. Lower angles can make a subject seem more powerful and imposing though heavier whereas a higher angle has the opposite effect of making them seem more small, vulnerable and light. However, as mentioned in point two, if there is an obstruction between you and your subject, such as an audience, and an overhead is the only clear means to get the shot, then get the shot.
4. Framing
Framing is one individual aspect of cinematography and there are a number of goto strategies. The rule of thirds is a big go-to for me. Generally speaking, if you capture your subject at a point where the vertical and horizontal grids cross then you generally capture a more pleasing frame. Other ratios can also be applied such as the golden ratio which is pretty much 2:1 or the Fibonacci sequence which is an outward spiral originating from where the thirds intersect.
When it comes to faces the target for framing and focus is the bridge of the nose. Filming in higher resolutions can give you the option to crop and frame a little in post so that should always be a consideration. The only other thing to add is to always see how you can use the background and foreground to frame a subject. For example, if you can find a spot in the crowd at a gig it can be nice to use the other members of the audience defocused at the edges of the foreground to frame the subject and get a better feel for the scene.
5. Moves
Where photography and video go their separate ways is when it comes to camera movements as obviously photos don’t move. An essential tool for smooth motion is a gimbal and I can highly recommend the DJI RS2, but I still see people filming hand-held footage that is smooth enough, using the strap as a sling to reduce shake. I have a toolkit of camera movements that I regularly draw from. The first is the “orbit”, which is when you circle around the subject. This is a good move for offering a perspective on the surroundings whilst keeping the subject central to the frame. It’s also a good move to emotionally isolate the subject from the surrounding as they become an island in an ocean of swirl.
“Pedestal” is moving the camera vertically and can be great in establishing stature and making things feel big and important. “Truck” is where you move the camera in a straight horizontal motion and can also be referred to as “slider shots” as you can mount your camera on a slider to get a perfectly straight slide. I find truck shots are a good way to provide a subtle enhancement of depth and a containment. The subject/performance is given even more importance as their presence in the filmic world disregards the camera and thereby outweighs the movement of the camera.
The other main type of shot is a “dolly” or “follow/tracker” that either advances or retreats between background/foreground with the main difference being that a dolly is usually on a dead straight track on a static subject whereas a follow/tracker is on a moving subject. Very similar to a zoom/ken burns crop effect, it can be used to add intensity event to a static shot, though with a dolly the eye can observe the difference in the physically moving in 3D space.
These types of moves can then be combined for effect. For example an orbit + pedestal could be used to introduce a subject as imposing and isolated and then meet them at eye level to make them feel more set and relatable. One move I like is to dolly in on a subject from the front and dolly out from the rear to give a sense of moving through them. Thinking with an editor’s brain is massively helpful as you can start to think about how the motion of one shot can match into the motion of another. Air Aster’s Midsommar (2019) achieves one of the most amazing drone shots I’ve ever seen where the camera performs a rolling semi-orbit of the car driving along a road, seamlessly moving from chase, to overhead, to an upside-down lead, with the car locked in position the entire time. The result is a mesmerising effect as if the world itself is flipping upside down.
Endless motion can be a mistake however. Movement can serve a purpose to better tell a story or to add interest but non-stop motion becomes jarring. You get some directors such as Michael Bay who will constantly orbit a subject and move the camera for seemingly no reason other than what must be a lack of confidence in the script/performances.
Camera moves work in a very similar way to the rhythm of editing as you are controlling the pace of temporal/spacial flow. Think of it as words, commas and full stops. An endless paragraph without fullstops becomes jarring to read. Sometimes you need a pause or a full stop to give yourself a moment to pause, catch your breath and take in what you’ve just learned, so don’t be afraid to hold still if you have a nice shot or if you’re at the end of that particular point. Generally speaking I find long holds show confidence. The exact same applies in editing so again, the more you can film with your editor brain engaged the easier things will be later.
OK, so we’ve worked out strategy, camera operation and filming, so next time it’s we’re going to slow things down and look at a bit of house keeping with how to manage your media.