1. Frame rate / shutter speed
Frame rate is how many still images go into making a video. For fast frame rate think of the latest video game running on a high-end PC and for slow frame rate think of a sideshow. The lower the frame rate the more choppy the image gets. Lower frame rates can allow for more motion blur making the image feel more soft, and the higher the frame the smoother the motion but the less it allows for motion blur making the image more hard. The film standard frame rate is 23-25 frames per second (fps). This frame rate is preferred by filmmakers as it provides just the right balance of smoothness and natural motion blur. However, it is not a hard and fast rule as filmmakers often experiment with frame rates for creative effect and style (read more here).
The shutter speed is the speed to which the shutter opens and closes. It should generally always be set to double that of the frame rate in order to respect the 180º shutter rule. This acts to negate issues like flicker from artificial lighting, though sometimes, depending on the frequency of the lighting, you may need to tweak the shutter speed to dial flicker out. Removing it in post is never ideal. The shutter will generally control the intensity of motion blur as it is controlling how long the shutter is open whilst the camera films motion for each frame. This can be played with creatively. For example to give that “intoxicated/trails” look such as the scene in “Mandy” where the creepy, cult leader, loser Jeremiah Sand has his followers drug the titular Mandy in an unsuccessful attempt to seduce her with his delusions of grandeur. A faster shutter speed will also make the image darker as the shutter will spend more time in a closed state so it can also be used to tackle overexposure in lieu of an ND filter. Generally, though, keep your shutter to double your frame rate and you’re set.
Higher frame rates of 50-100+ can also be utilised to achieve a slow motion effect by slowing footage down in post to 50-25% the original speed. This makes everything look more graceful and cinematic and generally whenever I’m filming b-roll or anything that doesn’t involve synchronous audio (e.g speech), then I will always film at 50fps with a 100 shutter to give me the option of slow mo in post.
2. Resolution
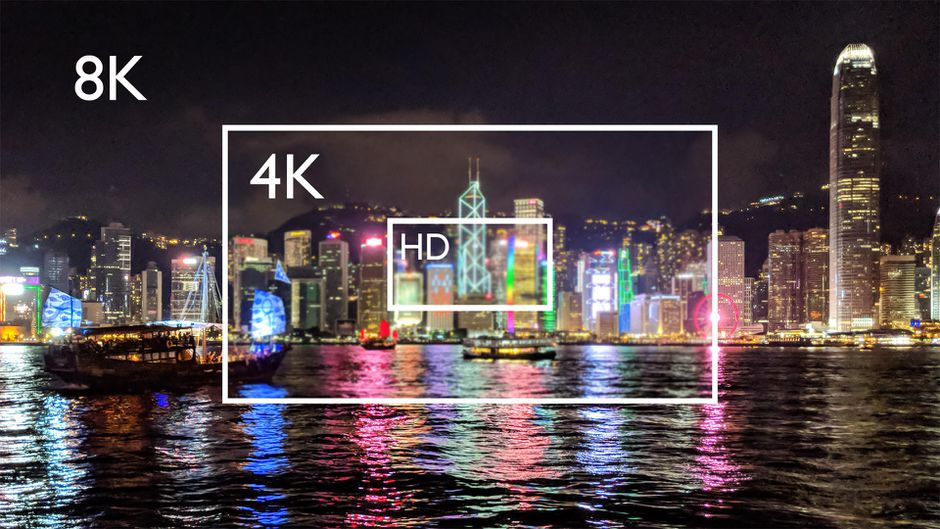
As technology advances so the resolution of digital video increases. Opting for higher resolutions grants greater clarity of the image and an opportunity to capture more detail (image data). High-resolution images often benefit from lower visual noise artefacts. However high resolution also means larger file sizes which can begin to be problematic in terms of file storage and with regards to computer processing power in post. Currently, the most popular media (i.e television and DVD) remains in an SD format, with HD Blu-ray failing to catch on and streaming services rarely going beyond 1080p. So currently, 1080p is fine. However, this doesn’t mean you should avoid higher resolutions overall. Filming in 4K allows you to crop in post, meaning that you can zoom in 200%. This can prove very useful if you want to add ken burns type effects in post or jump between parts of the same image (e.g the different subjects of an interview).
3. Lenses
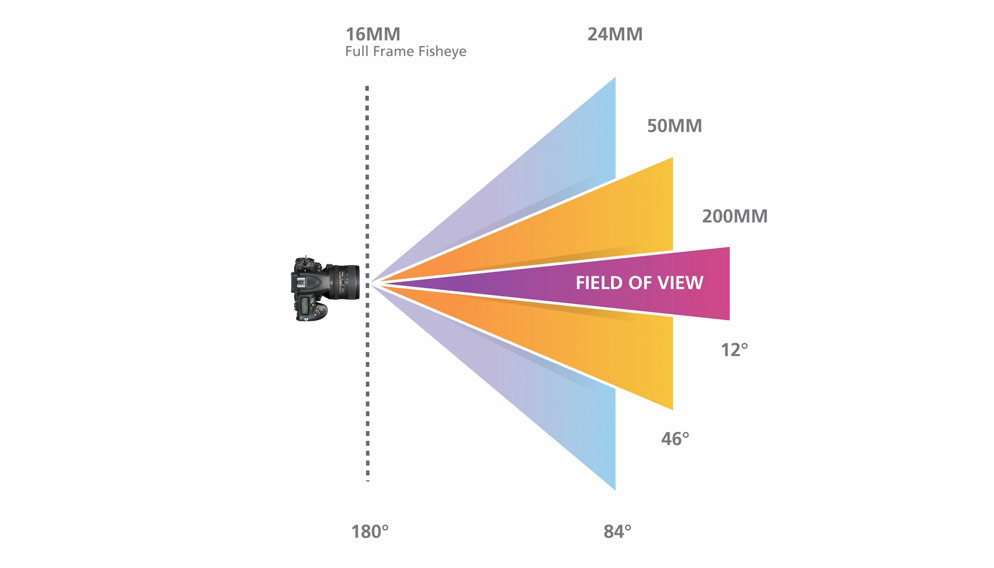
Experts can talk for hours about optics but I’m really not one of those guys. Lenses can be understood like watches – the more expensive they are then the better they are built and the better they function. Better lenses give sharper focus, better contrast and a more true and clear image. There are a never-ending number of lenses you can buy but besides specialist lenses like fisheye and probes an autofocus option and some form of image stabilisation is your best bet. Beyond that, the two main factors to consider are aperture size and focal length. The aperture controls how much light you let into the lens and therefore how bright you can expose an image as well as how shallow the depth of field is. The lower the “f” value, the wider the aperture opens, the brighter the exposure and the more shallow the depth of field. With focal length the shorter the focal length (in mm), the wider the field of view. The easy way to remember is just to think the bigger the focal length number = the stronger the “zoomed in” effect. So if you’re doing wildlife photography you’ll want 200mm+, taking portrait style shots (e.g an interview) you’ll want a mid-focal length of around 50-80mm, whereas if you want to squeeze an entire sports stadium into one frame you’ll want a shorter focal length of around 24mm.
4. Focus
There are three things that will ruin video more than anything and that is over/underexposure, janky audio and defocus. The way you approach focus depends a great deal on how you are filming. With top-end filming you have a guy called a focus puller whose job it is to just work the focus. But as a lone shooter focus is all on you. You have two options of manual and autofocus and each has its own merits. Manual gives you full control so there’s no ambiguity about it, but sometimes it can take a while to dial in a perfect focus and handling focus and camera movement simultaneously can get tricky. Using a gimbal that offers a manual focus control wheel helps out a lot but sometimes autofocus can be the preferred way to go.
Autofocus, depending on the camera, can give you perfect focus in an instant and also lock to a subject’s face even when in motion. Also if you have a camera on a tripod and no operator this can help you out. You can also use settings like spot focus to achieve a rack focus effect as you move the camera between subjects. Generally, though you’ll want to stick with either a wide focus setting which will lock on whatever is closest to the camera or central focus with locks into the centre of the frame. Be careful however if you are composing shots using the rule of thirds as sometimes the thirds might not register as the centre of the frame and your focus will wander into the background. Autofocus isn’t always perfect and sometimes it can be a real pig. Like in dark settings, it can struggle to find a lock, and it can also pick out something with a hard contrast rather than the face you desire to focus on. Generally, I try to stick to manual wherever I can but autofocus definitely has its uses.
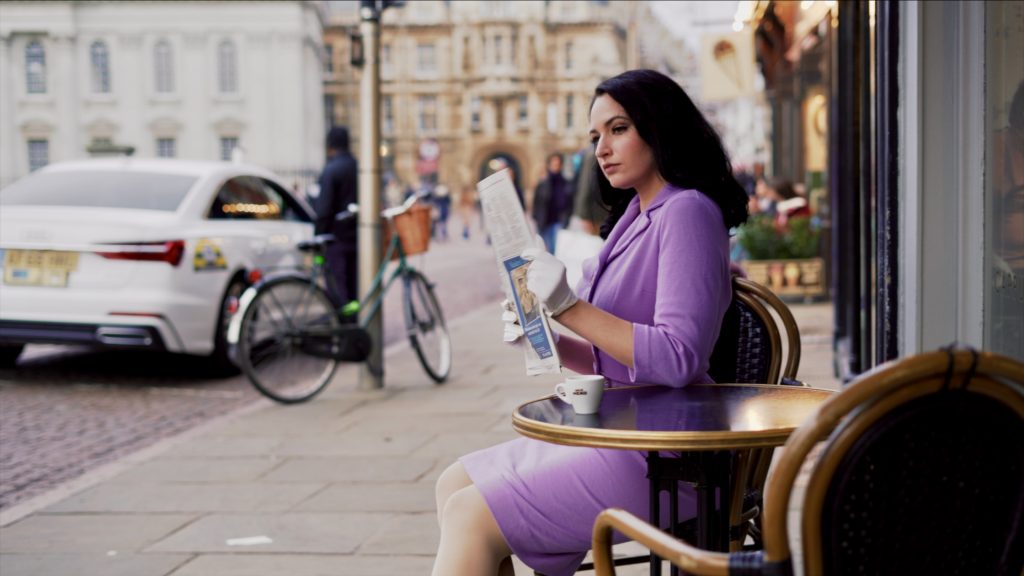
Aperture is also something to consider with regard to focus as a wider aperture will give you a more shallow depth of field meaning you’ll have a razor-thin field of focus and everything else will be blurry. Generally, shallow depth of field looks cool and helps to separate the subject from the surroundings, but it increases your risk of missing your focus spot altogether. Take a good look at the image and dial in your aperture so you get just the right amount of focus and just the right amount of roll-off to blur.
5. Exposure
Exposure is how bright or dark the image is. Creatively you may want it really bright or really dark but general speaking you want to capture the maximum amount of data (colour, light, detail) into the image in order to get the best results in post. Exposure is controlled using a combination of controls and each will also have its own side effect on the image.
ISO is a control of sensitivity to light. The lower the ISO the less sensitive the camera is to light meaning the image will be darker but it will also generate less noise. On the flip you can raise the ISO to brighten up the image but the image will become more noisy and grainy looking. This isn’t always ideal but sometimes it can be used to give a bit more of a textual vintage look, though as a general rule I’d always try and keep the ISO as low as you can. As with auto-focus, auto-ISO is an option though best avoided where you can. However, in conditions where light levels are constantly changing (e.g sunshine and clouds), then some degree of auto-ISO can help to smooth things out and ease things up in post. Aperture controls how wide open the lens is with the wider it’s open the brighter the image. However a wide aperture will also result in a more shallow depth of field as previously mentioned. Also mentioned previously, a faster shutter speed will result in a darker image. The only other way to control exposure is with an ND filter. This is basically like sunglasses for a camera lens and if you are ever shooting in sunlight they are essential. Ultimately, your exposure will be controlled between ISO, aperture and shutter speed, plus your ND filter if you have one fitted.
Always exposed to the subject. A person’s face should be exposed to around the upper mid of the light range. If that means over or under-exposing the background then so be it, but the subject is the priority. Trying to fix exposure in post can be as bad as trying to fix out-of-focus footage. Ultimately, over or under-exposed footage simply hasn’t captured the colour/brightness/detail data so no matter what you do you can’t get it back. Always take a good look at the image when filming, learn to look through your viewfinder as much as possible and check your histogram to ensure that you have a nice even spread of data across the light range.
6. Colour
As with focus and exposure, you’re always wanting to capture as much colour data as you can. Essentially the editing process begins at camera operation because at that point you start deciding what you do and don’t want to focus on or what you do or don’t want to expose to. So having true colours ensures that you’re getting all that data. For example, if your image was all red it would mean you’ve lost all the green and blue data. So always set your white balance. White/grey cards are an essential tool that you can use with most cameras to ensure white is white and your colours are true. Whenever you change locations or conditions always review and if necessary recalibrate your colour setting. Sometimes however it can be hard to determine what is true white. For example a white card with a red light shining on it is for all intents and purposes red. So set your colours when the conditions are neutral and then turn on the coloured lights etc… If that’s not an option then simply adjust the colour temperature manually by eye and tweak in post.
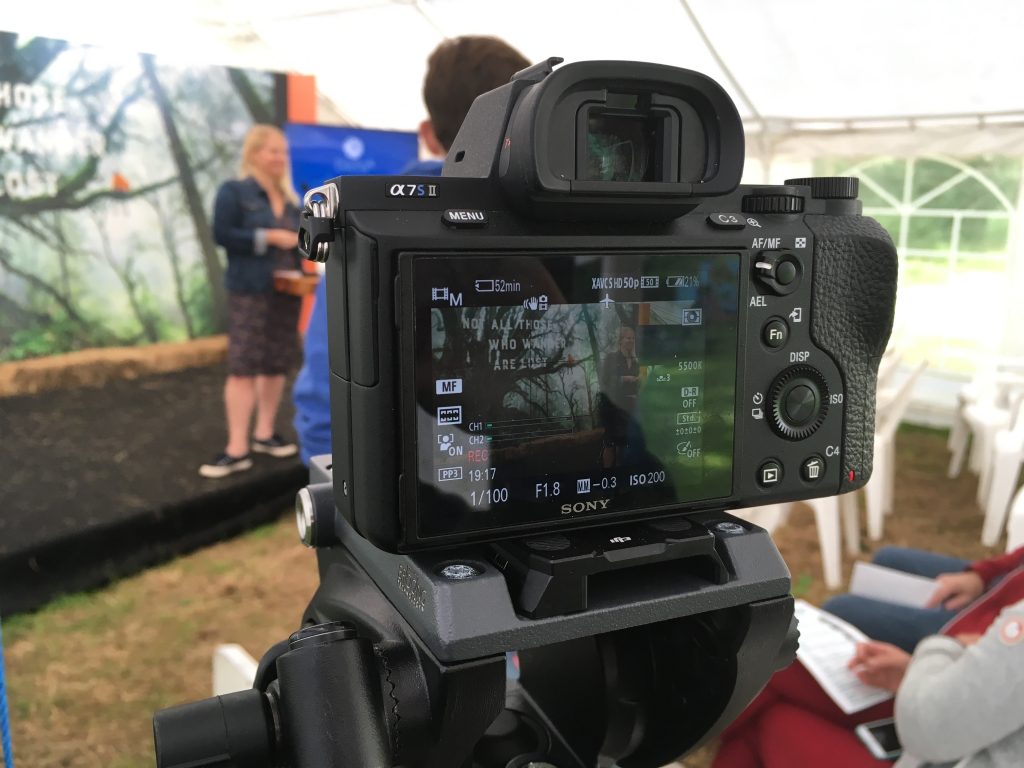
Always try to capture black, white and human skin in a frame as these will act as points of reference in post. Auto-colour is an option but it’s something I generally avoid as it’s not always reliable and if your colours change mid-shot then it will make post-production very difficult. However, sometimes you get into a situation where the colour is being continuously affected unintentionally. For example, I was once filming an event in a canvas marquee and the varying sunlight through the canvas would affect the colour temperature. In an instance like that both auto ISO and auto colour may be recommended.
I cannot stress enough to dedicate time to getting your colour set up properly and keeping it consistent or you could be looking at adding extra hours, days, weeks in colour correction.
7. Customisation
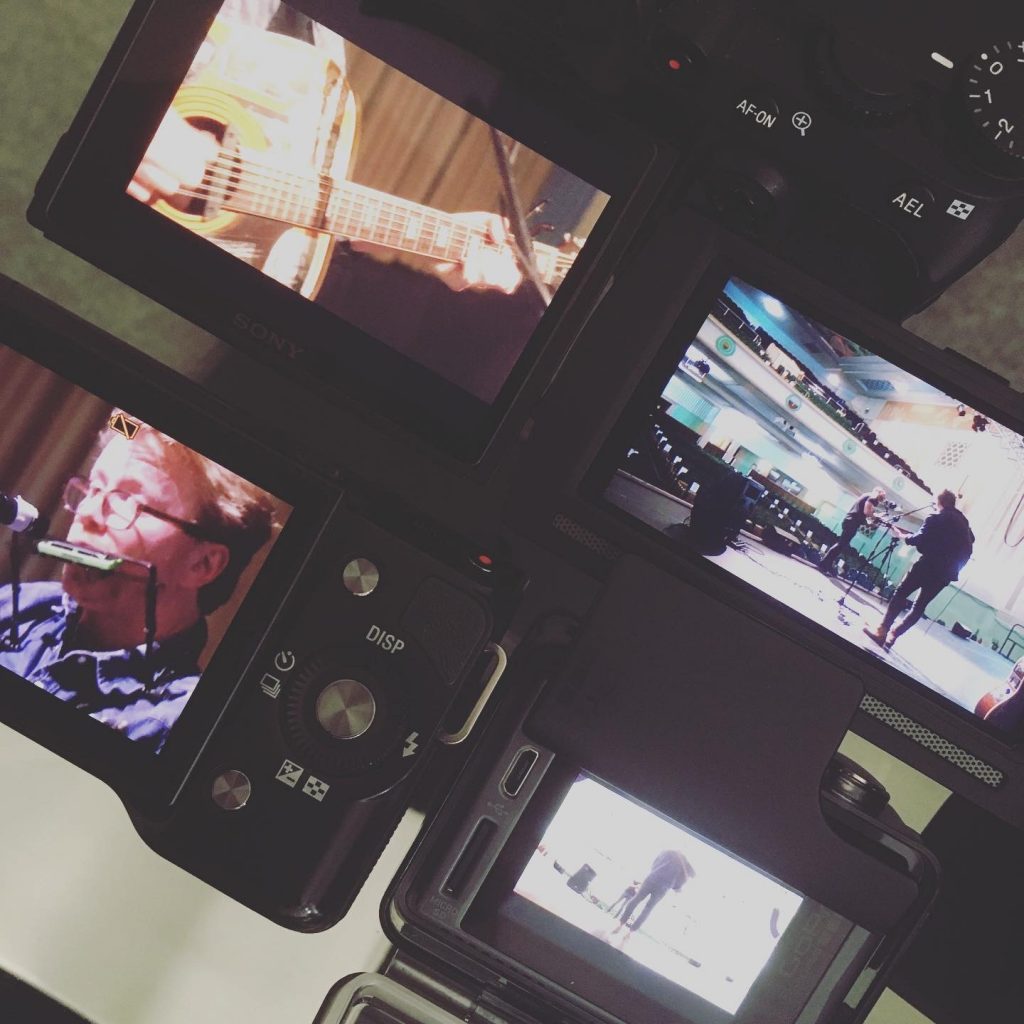
When you’ve gone to all the effort to be on location to shoot then you have to always be ready to get the shot. With live events, a moment can come and go in the blink of an eye and if you’re scrolling through menus chances are you’ll miss it as well as looking like a total amateur. Your camera is a tool and tools are only tools if they are useful so set your camera up so that every single button has a purpose. I have my camera set up so frame rates, focus modes, colour profile etc… everything is just one or two clicks away. Have different pre-sets ready of low light/4K/slow motion etc.. Take some time to customise your camera to the way you use it.
So far we have covered strategy and the fundamentals of camera operation. Stay tuned as next time we’ll look at filming.