Audio is 50% of the film, and don’t you doubt it! In fact, even saying that is being generous. Generally speaking, it’s much easier to get away with an unimpressive visual if you have good sound, but if the sound sucks a film will be far less likely to pass the watchability test. So take sound seriously from recording to playback and all the way in between.
1. Mics
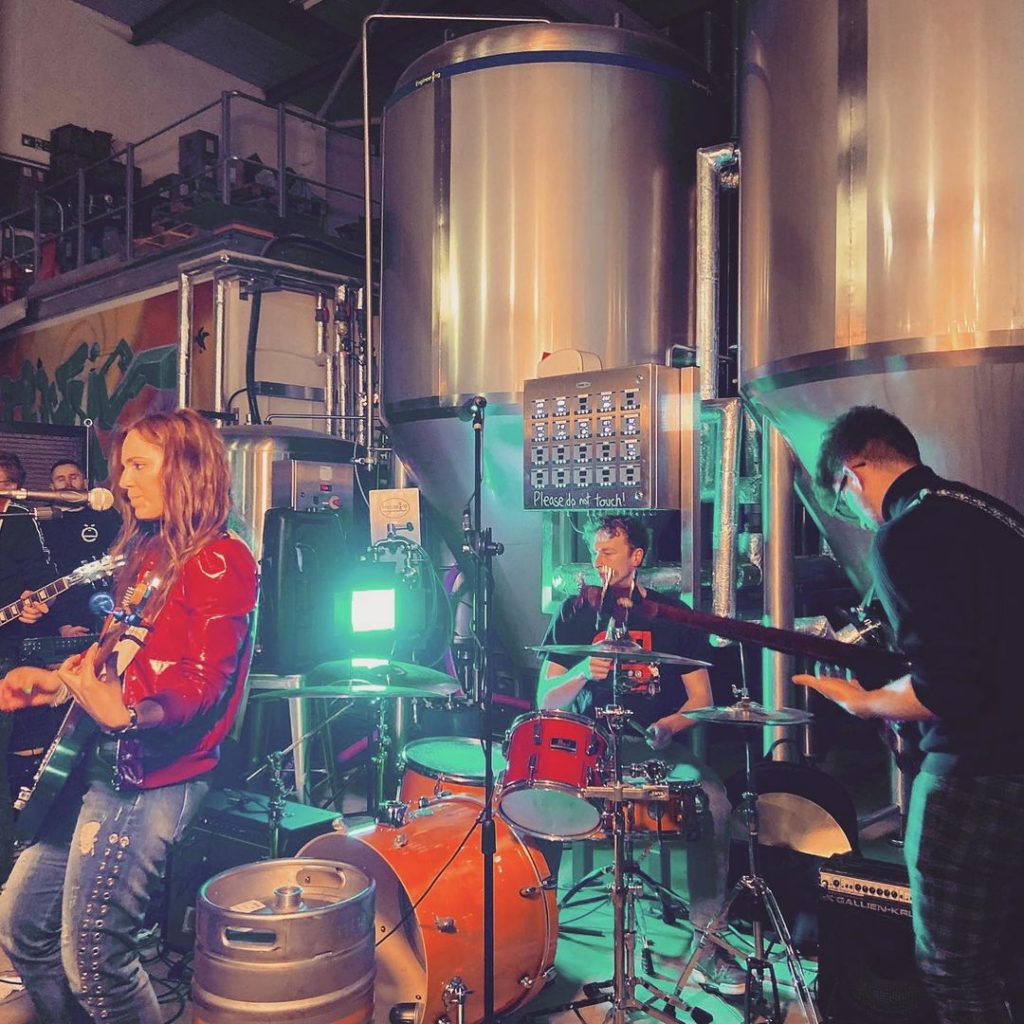
As I have always been taught, garbage in = garbage out. You can be a genius at audio production but unless you’ve made an effort to record clear audio then your audio output will forever be compromised. Try to get some decent mics including shotgun/boom mics and lavs for production sound. And use them properly. The main aim is to isolate the sound source from any other noise including reflections so generally you want them as close to the source, or pointing towards and down at the sources. Also, if you want to provide a more rich stereo or 3D sound image then you will need to position mics within the space where they can capture the different sides of the sound space.
2. Recording
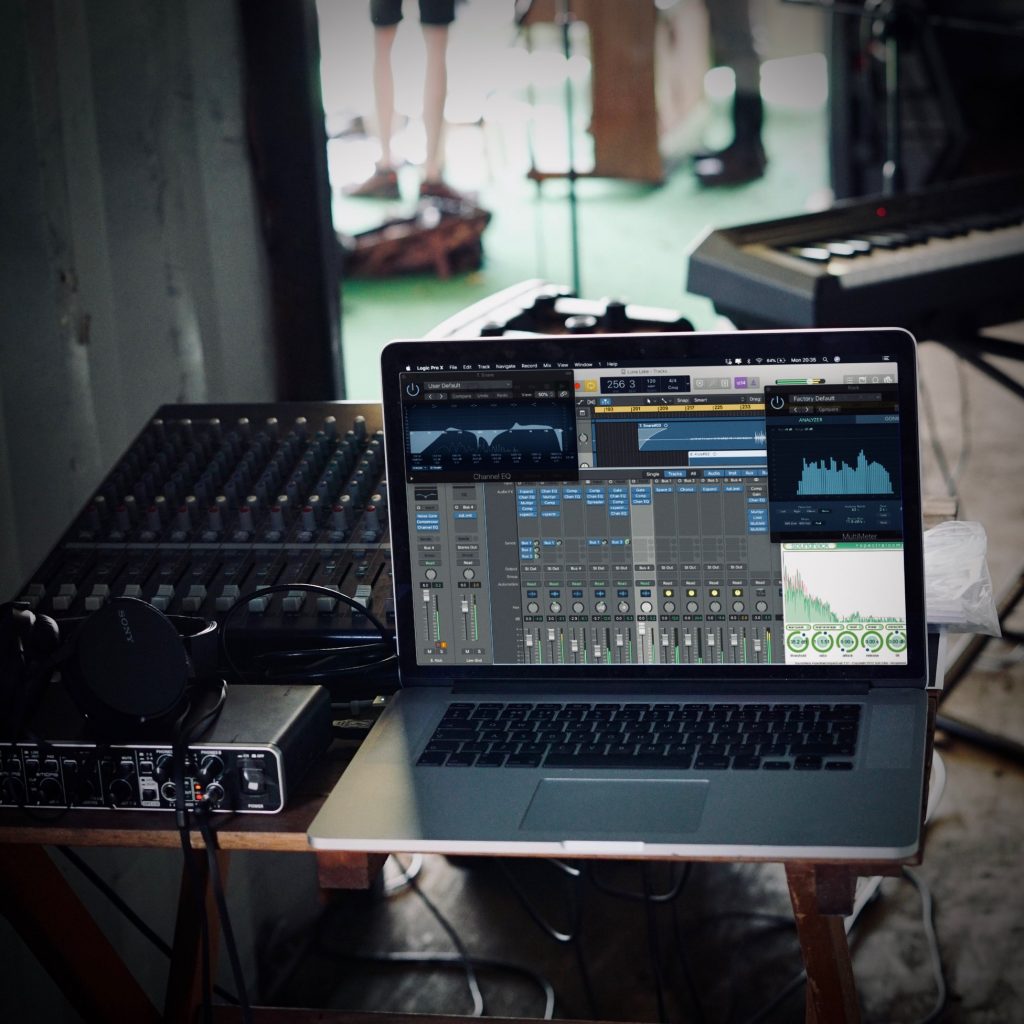
Live music recording is a bit more in-depth and I recommend some form of multitrack recording to give you better control over the mix in post. I use a Sony desk, a Behringer Uphoria interface and Logic Pro. Record to an absolute max peak of -6db. Wear headphones and constantly monitor your recording. For production sound, you can use a boom or lavs, and for run & gun, a decent rifle mic should do a decent job of capturing what is in front of the camera.
3. Audio editing
Having covered the basics of sound recording, let’s take a little back step into the editing process as there are aspects of the audio process that should be handled at the editing stage. Whilst this can be addressed in audio post, I feel that you should have the placement of your audio in relation to the image pretty much set in stone at the editing stage.
For the most part, with synchronous audio, the sound is locked to the image so there’s nothing more you need to do besides ensure there are no clicks at the end of cuts but adding a one-frame fade. But there are choices you can make in the cut to slip & slide the audio independently of your image to make it work a lot better.
L/J Cut: As well as the straight cut where the sound and image cut at the same time, there is another type of cut that either starts a new scene using audio trailing from the previous. This is called an L-cut. Or you can do the reverse of starting the audio from the next scene during the end of the current scene, called a J-cut. Each has its own creative purpose (e.g a lingering memory, a passing of time, letting the audience know what’s happening next etc..) but generally speaking, I find that cutting dead at the onset of a section of dialogue just feels very jarring and amateur. For example, the biggest tell of amateur editing is a conversation where every line starts and ends on a standard cut rather than a more natural L or J-cut. An example of this would be pretty much all of “Samurai Cop” (1991) where the horrendous editing makes it even more obvious that shots and scenes were inserted in post. Real-life conversations naturally include some degree of cross/over talk. But again, if harsh and abrupt is your creative aim then a straight cut may be a better creative choice (e.g to build tension in a fast, back-and-forth police interrogation scene). This scene from “Uncle Buck“ (1989) uses a combination of J/L cuts and hard cuts to provide the comic pace and timing whilst keeping it natural feeling.
At this stage, you’ll also want to get your music to fit right. This may involve cutting the music to better fit the image or editing the image to better fit the music. Call me lazy but I’ve never been a fan of hundreds of micro-edits. Mutilating something in order that it will fit with something else just can really sap it’s essence. Think of rustic cooking rather than putting everything through a blender. Humans are surprisingly forgiving in these respects as the brain actively fights to form a connection between sound and image, and overall I find that striving to maintain something as a whole and faithful to its original form provides far more authentic results.
By the time you are done with editing you should have everything locked in (SMPTE) position and have a rough mix. You should then be able to export an XML file which you can open in a digital audio workstation (DAW) like Logic Pro or Pro Tools that will contain your audio files as well as any volume or fade data.
4. Audio post session set up
Use your DAW to open up the XML file you exported from your video editor. This can be a bit of a mess as video editors treat audio secondary to video so it often needs a bit of tidying up to make the session workable. Generally, you want every track in chronological order from the top of the session to the bottom and in a checkerboard configuration. The general mission of any production is to distil a million ideas, decisions, buttons and faders all down to one button where the audience sits back and hits play. So whilst it might be a little more advanced it is highly advisable to use folder tracks and bus faders to group different types of sound (i.e dialogue, production sound, sound design, music etc…). At this stage give your rough mix a second listen and straighten up any issues that might stand out. Also, rather than exporting one stereo mix back to your video edit, it is better to export the various group stems (dialogue, music, effect etc..), as if you did need to make any subtle adjustments later on then you can without having to go back into the audio mix.
PRO TIP – Using Effects: A very big lesson I was taught over my education in media production is, anything you do to affect your source material will result in some form of side effect as no matter what you do you are affecting the data. Even something like placing a gain input effect with no gain applied can impart the tiniest of audio artefacts as the data passes through the processing algorithms of the plug-in. The same also applies to video. So learn to become a sushi surgeon with effects. Any effects or processes you apply should be done so as cleanly as possible and absolutely intentionally. Whenever you apply any effect, constantly switch it off and on (A/B’ing), to review if the effect you are applying is actually having a beneficial effect or if it needs further refinement. No junk or clutter effects. If it’s not making things better then get rid of it.
5. Noise management
Ensuring that you have a decent rough mix, you will then likely need to address any noise issues. The aim here is to achieve as much clarity as possible whilst keeping the audio sounding natural and, as much as possible, free of any digital artefacts from effects processing. Personally, I use iZotpe RX which is a powerful and industry-standard noise removal system. The worst thing you can do is be heavy-handed with auto noise reduction as it often sounds robotic and processed to death. Way better to see if you can dial down any noise with EQ and a touch of specialist noise reduction.
A common method in audio production is also to record ambience from the environment of the location in which you were filming (called “room tone”) as this can be mixed back in under control and thereby smoothen out the audio, making it more natural sounding after noise reduction. As a general rule never hard cut noise, always use fades as then it is less noticeable. This includes using very short crossfades between audio regions.
6. Levels and loudness
Get your selfie stick out because this is the point where you sit in front of a bunch of faders and pretend like you’re Dr Dre. The idea of the mix is that you get a balance of maximum overall loudness, dynamic range and uniformity.
There as some fundamental basics of audio in video media in terms of levels. 0db is the absolute maximum level. This is the ceiling for which digital sound can go no louder and anything above 0db will ‘clip’ meaning data will be lost and it will begin to distort. You never want to go to 0db and in fact even getting to 0db can sound bad on lesser capable speaker systems. -3db is your absolute peak and no level should ever go louder than this. Think of this as your final safety barrier. -6db is your average peak where you will generally allow your loudest peaks to continuously hit, still using -3db to allow for your occasional absolute loudest stuff. Full-level music can hit -3db and dialogue generally you want between -20db to -6bd.
Modern sound has become obsessed with ‘louder’. Heavy volume compression is very common but it’s not always the best approach as, whilst it can pack in more loudness, it can also make audio sound a little too punchy. Dynamic range (i.e things having a range of high/low or loud/quiet), has become under-appreciated and I think it is important to allow the quiet bits to be quiet as this then makes it easier for the loud bits to be loud without everything having to fight for attention. So once you’ve got a decent second mix use a limiter to prevent any occasional loud peaks going above -3db. Alternatively, compressors can help to limit levels whilst maintaining some tolerance for dynamic range, so to contain the general levels a compressor can be the way to go.
7. EQ
At a beginner/fundamental level, you shouldn’t be thinking about getting ‘perfect’ sound as audio post is a discipline that takes years. What you should aim for is ‘improved’ sound. Just something that you have listened to, identified where it can be improved and then taken the appropriate action. So generally speaking trust your ears.
There are a few areas that you will commonly address, however. I like to break down the frequency spectrum like the different parts of the voice. At the very bottom, you have sub base (20-50Hz). This is ’sub-sonic’ meaning you won’t be able to hear it (though it can be used for physical effect through sub-bass speakers), but generally, you’ll want to roll it off with a high pass at the very bottom of the spectrum to save your levels/speakers from a load of unnecessary energy/work.
At the low end of the frequency range (50-200Hz) you’re listening out for the boom and rumble in the voice as if you have your ear pressed up against someone’s chest when they’re talking. You want this just barely audible but the weight of its presence felt.
Next, you get to the nasal zone (200-500Hz), which gives a little more mid range body though not quite full clarity yet.
The middle of the spectrum (around 1kHz) is what I call the ‘bark zone’. This is where the bark of the voice is and I call it so as it can also give provide an unpleasant bark sound with loud sibilance so this is an area when you might consider some attenuation to avoid that. This is also where the lion’s share of vocal information resides however so this is the pivot of the balance.
Finally, the whisper zone (2-20kHz) is where the sparkly esses live. The level here should be in balance with the lowest audible areas of the mix and likewise on either side of the 1k halfway pivot. Keep boosts and attentions small and smooth, in increments of 3db with very soft roll-off. But if you identify any buzzes, noises or freak frequencies use very sharp and narrow band frequency cuts to surgically eliminate just that specific frequency. For example, there might be a fan or electrical system in the background making a constant noise at one very specific frequency. Turn the Q control of your EQ all the way up for maximum isolation, turn the level up and sweep until you dial into that exact frequency, then finally bring the level down to nothing and you should have been able to remove that one sound without affecting anything else.

8. Spatial Imaging
Spatial Imaging means mixing in 2D or 3D. A rich and detailed stereo image can really help to immerse the listener in the world of the image. It is also good to give audio elements their own space on stage, just as you would have the actors of a play stand in different places on stage. Using pans to position audio to relate to where they appear on screen (or behind you) helps this.
Generally, for background ambience and effects you can push things to the very edges of the image. However for central audio (e.g dialogue), having things panned too hard to the left or right can get very jarring as, in generally, we don’t hear things in that way. Our brains move important sound to position it in front of us, so you generally want to keep pans on central audio very minimal. Either dead centre or just a touch to the left or right for spatial separation. Similarly with regard to sound design – whilst a person walking will obviously make some footstep sounds, our conscious minds tend to ignore or filter out this information as superfluous, so in a general scene of someone walking it can seem more natural for there to be little to no footstep noise. This is something that 5th and 6th generation games really did wrong as every step would have some obnoxious sound effect in an attempt to seem “realistic”.
A final primary aspect of spatial mixing is reverb. Many reverb plug-ins use impulse responses that recreate the reverbs of specific locations (e.g libraries, prisons etc..) so when adding reverb take some time to find the right reverb for the right scene. The devil’s in the detail. Though generally less is more. I always refer to reverb as a bit like ‘audio ketchup’ – just a little to accompany and enhance is good, but if all you can taste is ketchup then you’re not tasting the food. Again though, creatively you may want a big reverberant sound so play it by ear.
9. Mastering
Once you’ve done everything, take a break, go away and do something else to reset your ears. Then come back and give it a ‘final’ mix. Finally, apply a multipressor or any other mastering tool at your disposal to contain the different zones of the frequency spectrum into a perfect box of audio. Output your mix stems in an uncompressed format (i.e AIFF or WAV) and then add this to your video edit session having muted all original audio parts.
10. Audition
The reason why I recommend sound before colour grading is that you are highly likely to watch your video back several times in the grading process and so it will automatically provide you with a greater opportunity to listen back to your mix over and over and any parts that don’t sound right will begin to make themselves apparent. As this happens you can either make small tweaks to your stems or if you really need to you can go back into your audio session, make the necessary adjustment, bounce the mix and continue/repeat until you’re happy with what you hear.
The final thing to be aware of is your monitoring system(s). Ideally, you’d have professional studio monitors which would give you the truest representation of the mix, but in light of that try to listen to your video on a variety of systems to get a feel for how it sounds on a phone compared to headphones, laptop, TV etc… Bear in mind that all of these will have their own respective sound (e.g televisions have often their own EQ settings, phones offer barely any stereo image whilst on headphones it is exaggerated), but listening to it on various systems and in comparison to comparable content will give you the best way of figuring out if it sounds how you want it to or not.
It can seem like a ton of work but as I said there is nothing worse or more disappointing than to put in all the work and effort you have to film something only to drop the ball on some final detail of audio, and it really can ruin a film.
So this is it, we covered strategy, camera operation, filming, media management, editing, sound and next we finish off with colour grading.